A adição de um link de cancelamento de assinatura é parte integrante da estratégia de marketing por e-mail.
Além de ser um requisito legal (Lei CAN-SPAM e Regulamento Geral de Proteção de Dados), isso também melhora sua capacidade de entrega.
Porque se você acha que o cancelamento de assinaturas é o seu maior desafio de marketing por e-mail, pense no que as reclamações de spam podem fazer.
Quando seus destinatários não conseguem cancelar a assinatura ou acham difícil fazê-lo, eles optam pela segunda melhor opção: marcar seu e-mail como spam. Você não gostaria que isso acontecesse, não é mesmo?
Por outro lado, quando você não mantém seus destinatários como reféns, você diz a eles que está confiante no que tem a oferecer.
Agora, a pergunta permanece: Como você pode criar um link de cancelamento de assinatura (no Gmail)?
Este guia ensinará a você:
- O que é um link ou botão de cancelamento de inscrição?
- Como criar um link de cancelamento de inscrição no Gmail
- As melhores práticas de cancelamento de assinatura para profissionais de marketing por e-mail
Vamos direto ao assunto.
![]() Canva/ 1001Love
Canva/ 1001Love
O que é um link ou botão de cancelamento de assinatura de e-mail?
É um link ou botão geralmente encontrado na parte inferior de um e-mail de marketing, permitindo que os destinatários optem por sair da sua lista com apenas um clique. Eles deixarão de receber seus e-mails quando clicarem nesse link ou botão.
Não se preocupe. Os prós de um link de cancelamento de inscrição superam em muito os contras percebidos, pois ele pode ajudar você a manter uma lista de e-mails legítima e limpa.
Você também pode coletar feedback dos assinantes que clicaram no botão para otimizar ainda mais sua campanha de marketing por e-mail e atender às necessidades atuais e futuras de seus assinantes.
No Gmail, o botão de cancelamento de assinatura aparece no cabeçalho de uma mensagem de e-mail, ao lado das informações do remetente. Esse campo é chamado de cabeçalho da lista de cancelamento de assinatura ou link de cancelamento de inscrição na lista.
Para suas campanhas de marketing por e-mail, veja como adicionar um link de cancelamento de assinatura no Gmail:
Como criar um link de cancelamento de inscrição no Gmail
- Escreva seu e-mail em texto simples em sua conta do Gmail. Em seguida, role para baixo até a parte inferior quando você tiver terminado.
- Adicione um texto indicando “Cancelar inscrição” ou algo semelhante. Na medida do possível, sublinhe o texto ou deixe-o em negrito para chamar a atenção do leitor.
- Destaque a linha de texto adicionada e clique no botão “Link” na barra de ferramentas.
- Quando você vir uma janela pop-up, cole esse link na sua página de cancelamento de assinatura separada. Verifique se o link funciona; se funcionar, clique em “Aplicar”.
Esse primeiro método leva cerca de um minuto, mas alguns profissionais de marketing por e-mail preferem uma opção mais personalizável – inserindo um link de cancelamento de assinatura por meio do recurso de mala direta integrado do Gmail. [1]
Veja como você pode fazer isso:
Adicionar um link de cancelamento de assinatura com o Mail Merge for Gmail™
- Supondo que você já tenha uma lista de destinatários no Planilhas Google, a primeira etapa é criar seu modelo de e-mail ou selecionar um já existente.
- Na planilha, vá para a barra lateral do Mail Merge e expanda a seção “Enable Email Tracking” (Ativar rastreamento de e-mail).
- Marque a opção Incluir link de assinatura ou especifique um texto de link personalizado de sua escolha. Por exemplo, você pode usar “Clique aqui para cancelar a assinatura“.
- Execute a mesclagem e ela adicionará automaticamente o link de cancelamento de assinatura no rodapé de todas as mensagens de e-mail.
Usando a opção “Inserir/Editar link
- Assim como na primeira etapa, ao adicionar um link de cancelamento de assinatura com o Mail Merge, você pode criar o mesmo link clicando no ícone “Inserir/Editar link” 🔗.
- Quando você vir a janela pop-up “Inserir/Editar link”, clique no menu suspenso da lista de links e selecione “Cancelar inscrição”.
- Clique em Salvar.
Elegibilidade para mala direta
As únicas edições do Google Workspace elegíveis para mala direta são as seguintes:
– Espaço de trabalho individual
– Business Standard e Plus
– Educação Standard e Plus
Novos requisitos do link de cancelamento de inscrição do Google
Em outubro de 2023, o Google anunciou que exigirá que os remetentes em massa autentiquem seus e-mails. Entre as alterações estão a inclusão de uma opção de cancelamento de inscrição com um clique e a regra de que o processamento das solicitações de cancelamento de inscrição deve ser feito em dois dias. [2]
Conforme especificado pela RFC 8058 (Signaling One-Click Functionality for List Email Headers), List-Unsubscribe pode ser um link http(s) ou um mailto, ou ambos. [3] O objetivo da nova RFC é sinalizar para os destinatários que o cabeçalho de cancelamento de inscrição tem a funcionalidade de um clique.
Da mesma forma, você evita o cancelamento acidental da assinatura pelo software antispam. Isso significa que, quando o software antispam verificar o link RFC, ele não terá efeitos colaterais indesejados na campanha.
Principais dicas de mensagens de cancelamento de inscrição

Compartilhamos as etapas sobre como adicionar links de cancelamento de assinatura ao seu e-mail e os novos requisitos de links de cancelamento de assinatura do Google, mas quais são as melhores táticas para você usar em suas campanhas futuras? Continue lendo para obter dicas rápidas:
- Defina expectativas claras – Quando as pessoas se inscreverem ou optarem por se inscrever, certifique-se de ser claro sobre o que elas podem esperar de seus e-mails. Essa é a sua oportunidade de compartilhar os benefícios de uma assinatura.
- Permita que seus assinantes “optem por não receber” – Além de se concentrar em mensagens de cancelamento de assinatura, dê a seus assinantes a opção de definir a frequência com que desejam receber notícias de você. Dessa forma, eles ainda sentirão que estão no controle. As pessoas ainda podem querer receber suas mensagens, mas não diariamente.
- Pergunte a eles por que – Um método brilhante para entender por que seu público-alvo quer sair é fornecer uma breve pesquisa. A resposta deles ajudará você a personalizar seus futuros e-mails de acordo com isso.
- Lembre-os de como foram incluídos na sua lista – Quando as pessoas cancelam a inscrição, é um bom momento para enviar uma mensagem de cancelamento de inscrição, que consiste no caminho que as levou a estar na sua lista. Essa estratégia pode ajudá-las a perceber o valor do seu e-mail e a não clicar na postagem “lista – cancelar inscrição”.
- Não queime pontes – Não aja como se você não se importasse com a saída de seus destinatários. Em vez disso, dê a eles a chance de retornar. Cause uma impressão boa e duradoura se você quiser que eles voltem a se inscrever.
Uma estratégia sólida de cancelamento de assinatura de e-mail mantém a reputação e a capacidade de entrega do remetente em alta.
O fato de o cliente não querer mais fazer parte da sua lista de e-mails não significa que ele não goste do que você oferece ou da sua marca. Ainda há uma chance de ele se inscrever no futuro, especialmente se você tiver um bom processo de cancelamento de inscrição – isso mostra que você respeita a decisão dele.
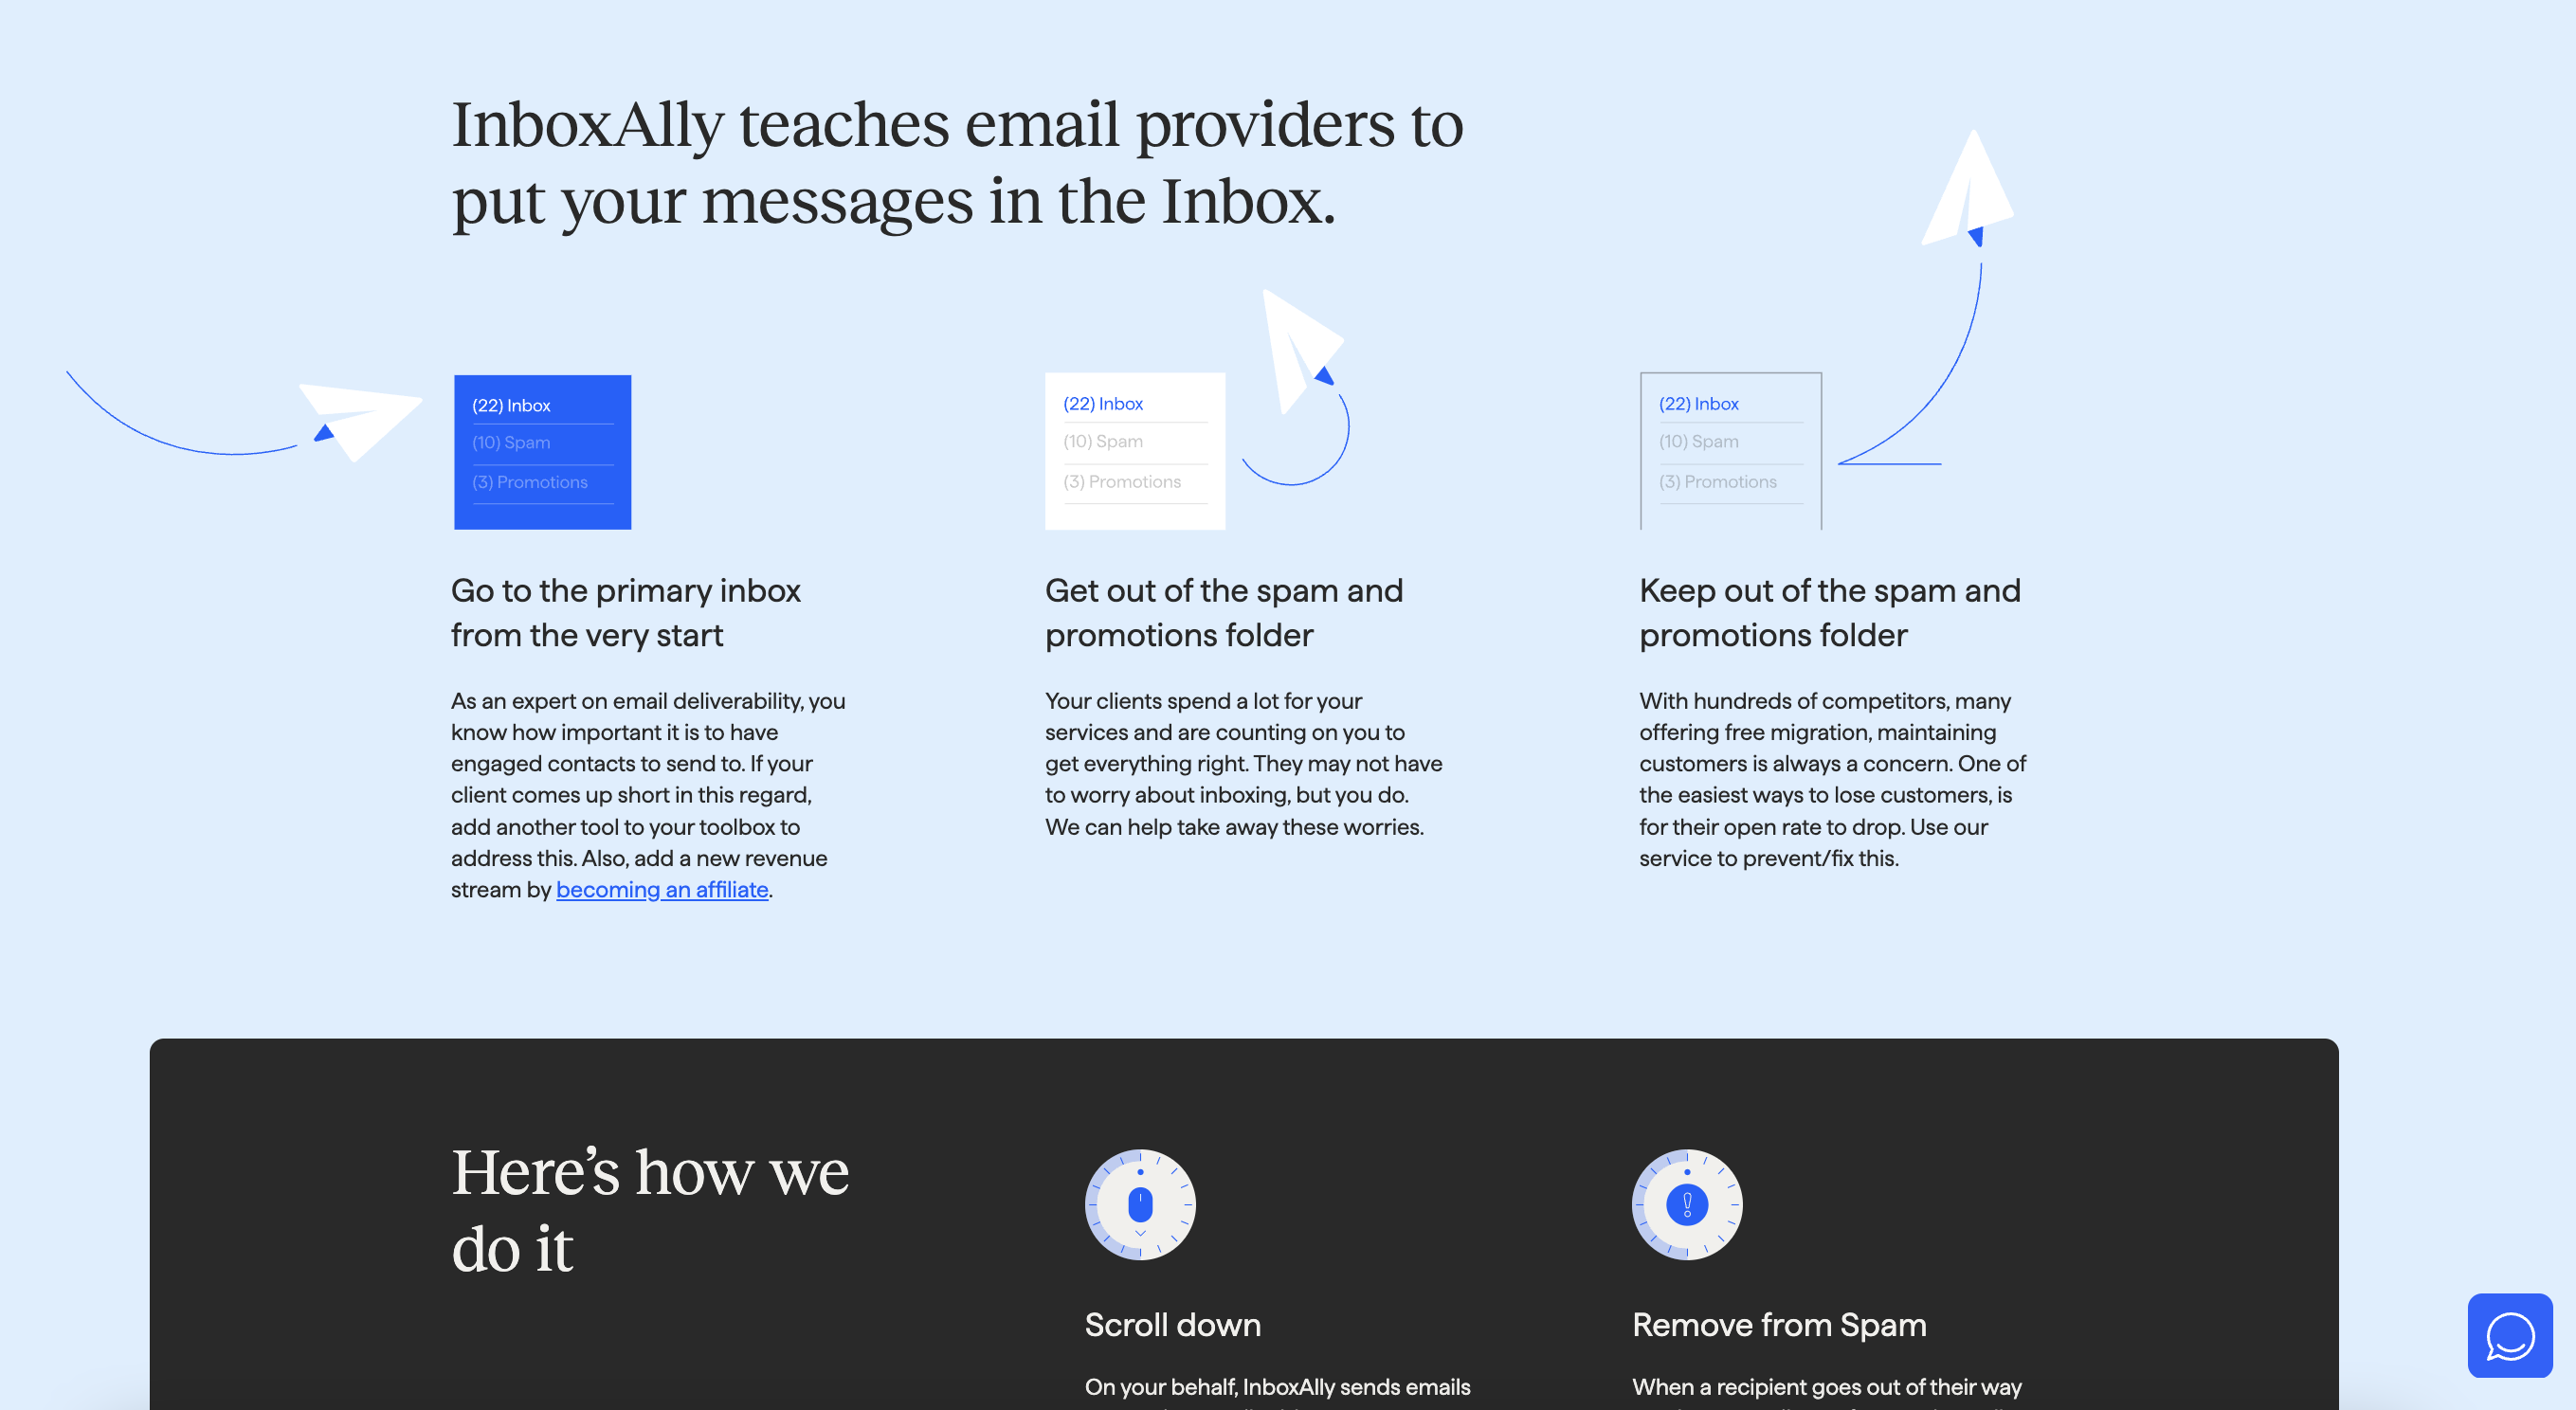
Você pode usar ferramentas de terceiros, como o InboxAlly, para assumir o controle de sua estratégia geral de marketing por e-mail desde o início.
Em seu nome, o InboxAlly envia um e-mail para destinatários altamente engajados que ensina aos provedores de serviços de e-mail como tratar seus futuros e-mails. Como resultado, você pode evitar reclamações de spam e ficar longe da pasta de spam.
Esse processo não apenas reduz as taxas de cancelamento de assinatura, mas também aumenta a probabilidade de suas campanhas encantarem e envolverem seus seguidores.
E é isso!
Seguindo as etapas acima, você está pronto para criar um botão de cancelamento de assinatura do Gmail fácil de encontrar e enviar seus e-mails de divulgação.
Conclusão
O que você pode aprender. O cancelamento de assinaturas é inevitável. Isso acontece até mesmo com os melhores profissionais de marketing por e-mail.
Portanto, não mantenha seus destinatários como reféns. Ajude seus clientes a se retirarem de sua lista de forma saudável.
Se eles quiserem sair da sua lista, respeite a decisão deles da mesma forma que você fez quando eles se inscreveram na sua lista. Tenha confiança de que eles ficarão se gostarem da sua marca e do que você oferece.
E se suas práticas de e-mail forem orientadas por conteúdo significativo e transparência, você estará em uma posição muito melhor para reconquistar seus assinantes.
O InboxAlly pode levar sua campanha de marketing por e-mail para o próximo nível.
É uma ferramenta exclusiva que permite que seus e-mails cheguem à caixa de entrada e evitem a pasta de spam. Ela faz isso ensinando os provedores de caixa de entrada a direcionar seus e-mails para a caixa de entrada principal desde o início. Saiba mais sobre seus recursos aqui.
Recomendado para você:
Referências de artigos:
[1] https://blog.google/products/workspace/

